Here’s How to Make Modern & Tiered Holiday Trees
- Dec 13, 2022
- 3 min read
Blog written by: Chantelle Lourens

The holiday season is a great time to stock up on craft supplies and get busy getting creative. It’s fun, it’s festive, and the kids can join in too (after the power tools are put away). It’s also an inexpensive activity you can easily fit into the holiday budget. Wood crafting feels especially traditional for the season, though as you’ll see you can go rustic or modern to suit your tastes. Follow DIY Expert Chantelle Lourens’ easy steps to make your own modern & tiered holiday trees.
Here’s What You Need:
Two pieces of 1" x 6" x 8' spruce
Pencil
Tape measure
Ruler
Circular saw
Chop saw
Pipe clamp
Sanding block
Wood glue
BeautiTone interior/exterior latex paint
Minwax weathered oak stain
Minwax dark walnut stain
Paint brush
Here’s How to Make Them:
These holiday trees are super simple and so much fun to make. They can also be customized to suit just about any style of décor. You can experiment with different heights, add stain for a rustic look, or paint them in striking colours for a thoroughly modern look. And because the only material used is spruce, you can even display these holiday trees outside! Just make sure to choose exterior paint.
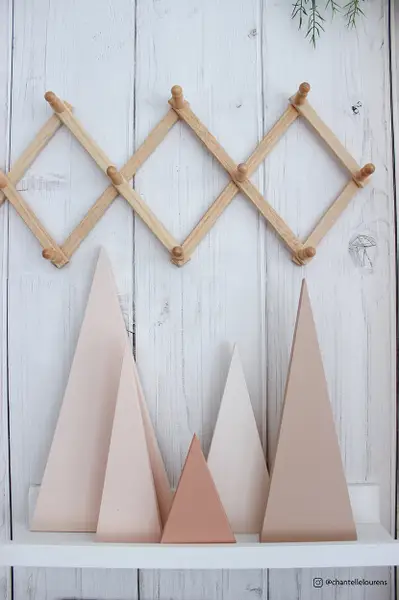
Modern Trees These were the easiest to make. The straight lines mean that only a few cuts are required, and it makes for a truly modern tree appearance.
Step 1: Marking Out the Trees
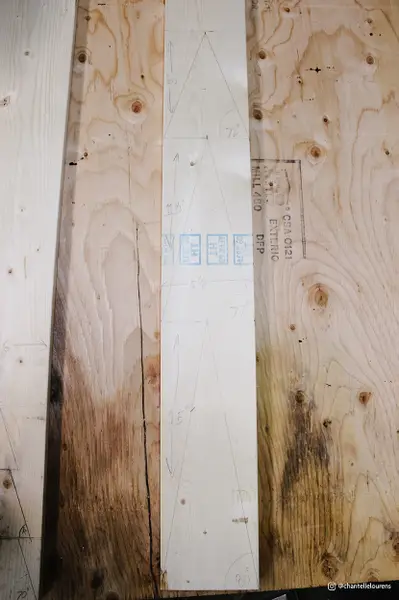
To begin, we took our first plank of spruce and found the centre point on one end. This will be the top of the first tree. Then we drew straight lines down to the bottom corners to mark out the base of the tree. We decided to vary our tree heights from 8-15 inches to create a foresty feel. Then we simply repeated the process by drawing different angled lines to achieve the different heights.
Step 2: Making the Cuts
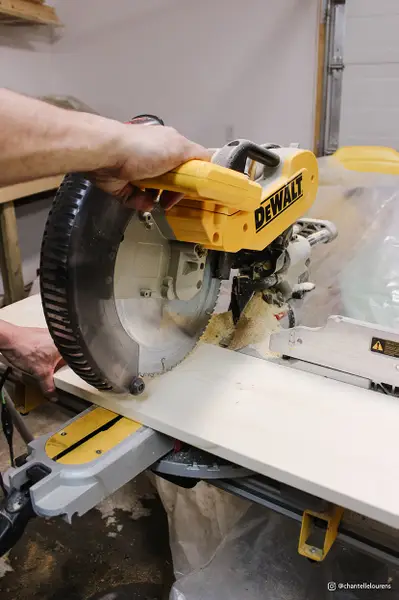
We used a chop saw for the cuts because it’s fast, easy to operate, and we had one in the house. A hand saw will work too, but it will take more time and effort.
Step 3: Painting the Trees
After cutting, we sanded all the trees on both sides to ensure a smooth finish. Then we selected different paint colours for different sized trees and gave each tree two good coats of paint.
Tiered Trees
The process for these trees was a bit more involved. They not only required more cutting, but also gluing and clamping. The results were amazing though!

Step 1: Marking Out the Trees
Once again we chose various tree heights and widths that we liked and drew them out on the second plank of spruce. For each tree, we made each tiered section approximately 3½″ tall. To achieve proper tapering we marked out each tier ½″ narrower than the one below. The lines along the bottom of each tier represented our cut lines.

Step 2: Making the Cuts
We cut out the tiered 3½″ sections first, then cut the sides while periodically adjusting the chop saw angle before making the cuts. As with the modern trees, a hand saw will work but here it will take quite a bit longer.
Step 3: Sanding & Gluing
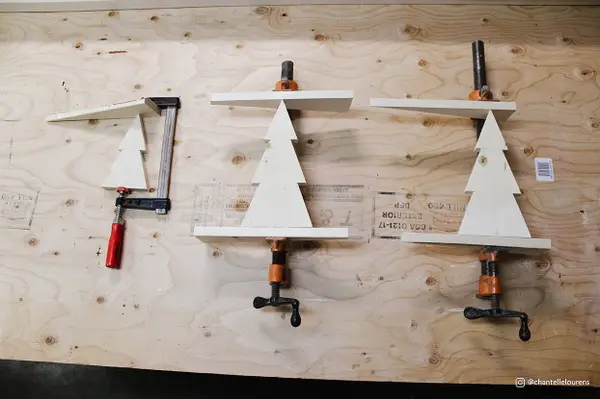
Each piece was sanded to a smooth finish, then glued and clamped together to Step 4: Painting & Staining
Step 4: Painting & Staining
For our tiered trees we decided to really mix up the final appearance. We finished some trees in Minwax Weathered Oak Stain and others in Minwax Dark Walnut Stain. We also chose to paint some of the trees. For these we used BeautiTone’s Powdered Donuts (WB021-0) to create the look of crisp, fresh-fallen snow.ensure a solid bond.
Well that was fun! At first, I wasn’t sure about mixing the modern and tiered trees together, but you know what, it totally works! These versatile little trees can work just about anywhere. You can make them a stand-alone display, work them into other holiday decorations, or even give them out as gifts. Our local Home Hardware store is a great resource for making holiday projects. The staff are very knowledgeable and are always eager to help.


Comments